Step 1: Start a New Workflow
- Navigate to the Workflow page within in the General Space.
- Click on the “New Workflow” button to create a fresh workflow.
Step 2: Retrieve Unattached EBS Instances
- Under the Entry step, press the (+) sign to open the available Steps
- Search for the Describe EBS Volumes Combo Step
- Select the relevant AWS Integration
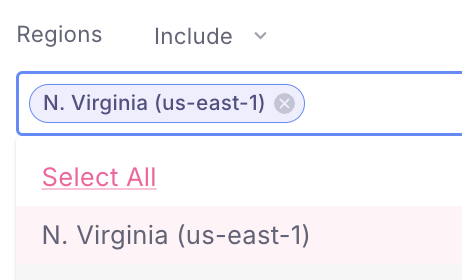
- Open the Regions selection and select the **N. Virginia **region
- Select the relevant accounts you would want to run on. You can also run on all accounts
- Add the Cost metric Unblended cost
- Extract relevant tags on the volumes (if relevant)
- Open the Filters optional parameter, and search for **Status **and select available. This will allow us to return only the detached EBS volumes.
- Rename the step to “Get_Detached_Volumes” by clicking the step name at the top of the inspector.
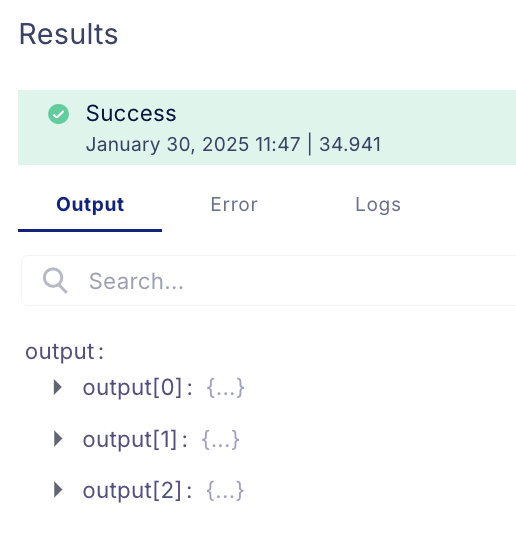
- Press on **Setup **Testing. Make sure that the parameters are correct, and click on “Run Step” to make sure the function is working as intended. You should now see the result. If the step return an empty list, make sure you indeed have detached EBS volumes in that account and region.
Step 3: Loop Over the Unattached Disks
- Add a Loop step to iterate over the retrieved unattached disk volumes.
- Utilize the Tree Helper to select the output of the Get_Detached_Volumes step’s volumes list
- Add a Collect step inside the loop.
- Press the (+) sign inside the scope of the loop, and select the Collect Step
- Collect the relevant fields from the Describe CLI response
- For the next step, because we want to write a Case we need to make sure we have the **Account Id, Region, Annual Savings, **and the Resource Id which are mandatory to open a case (used as the primary key)
Step 4: Create Cases
Now that we got all the data we needed, already filtered and processes with the right fields, we can create a Case in the platform, so we will be able to track our progress, calculate our realized savings, and more. To create a case we will need to use the Write** Cases** step.
- After the Loop, add the Write Cases step
- Fill in the Board** Name** to write the cases (Or create a new board from the step)
- in the Case Type add “Detached EBS Volumes”
- The Group Type is Idle Resources, Service Group is Storage, and in the Service input you can write EBS (in case you can’t find it just press Enter)
- The current Criteria should be “Detached EBS volumes that are not attached to any instance”. Note that you can add any criteria based on your workflow logic.
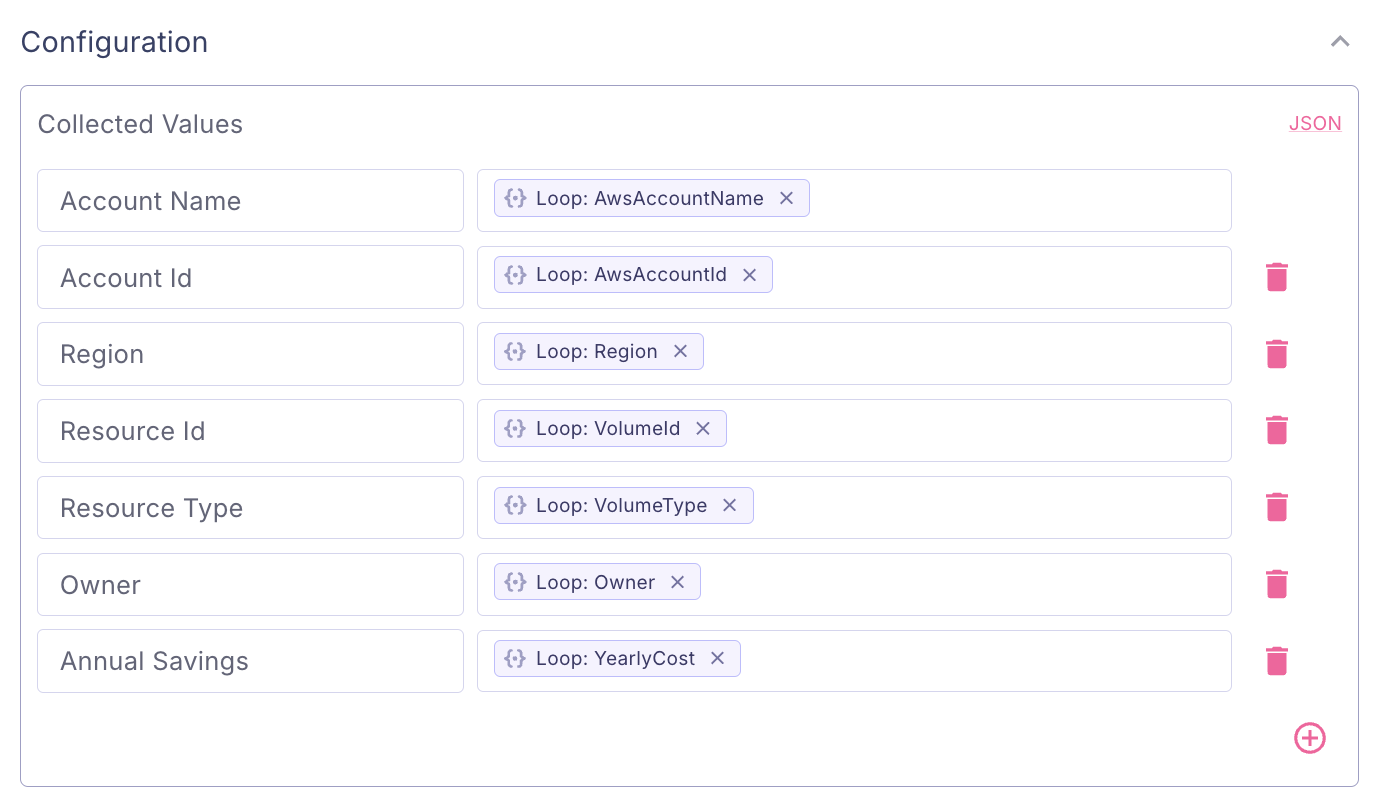
- Fill in the mandatory fields we collected from the Collector and make sure they are the same keys you used
So, if my collector looks like this:

Step 5: Send an Email Notification
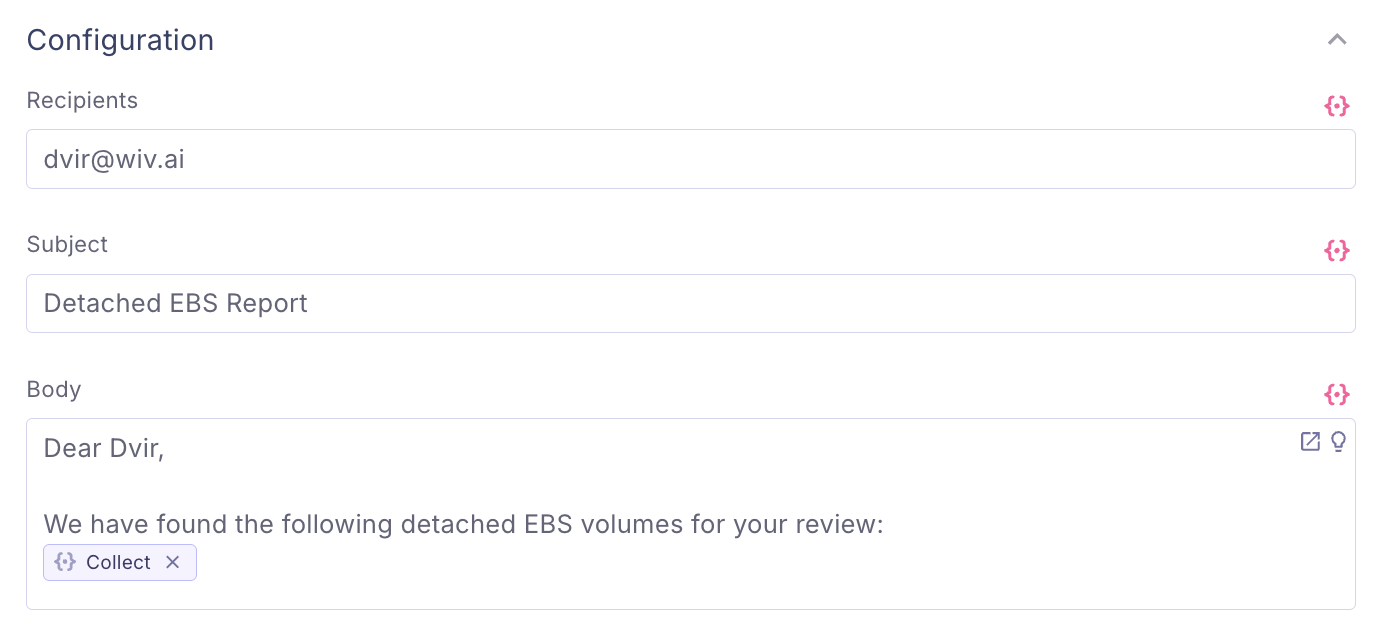
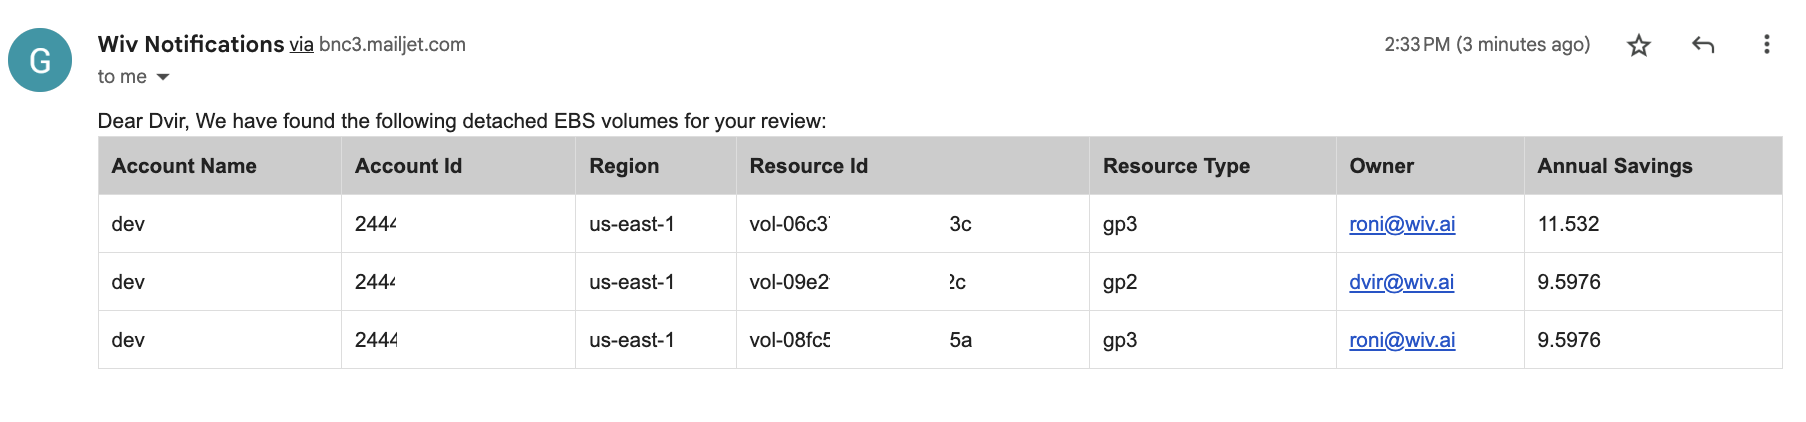
let’s say we also want to send an email report with the items we just found. To do so, we will add another step Send Email.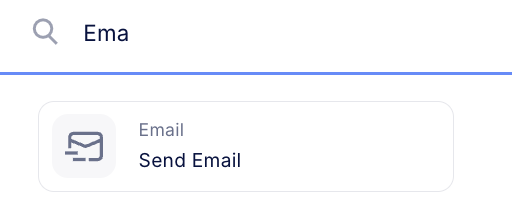
- Press the (+) sign after the previous Write Cases step
- Select the Send Email step
- Add the relevant information, and as in the Write Cases step, use the output of the collector to add the relevant resources.